This was one of the larger projects I had taken on at the time. It involved not only drywall work, but also electrical, framing, the addition of a window, moving ventilation returns, running coax cable, and more.
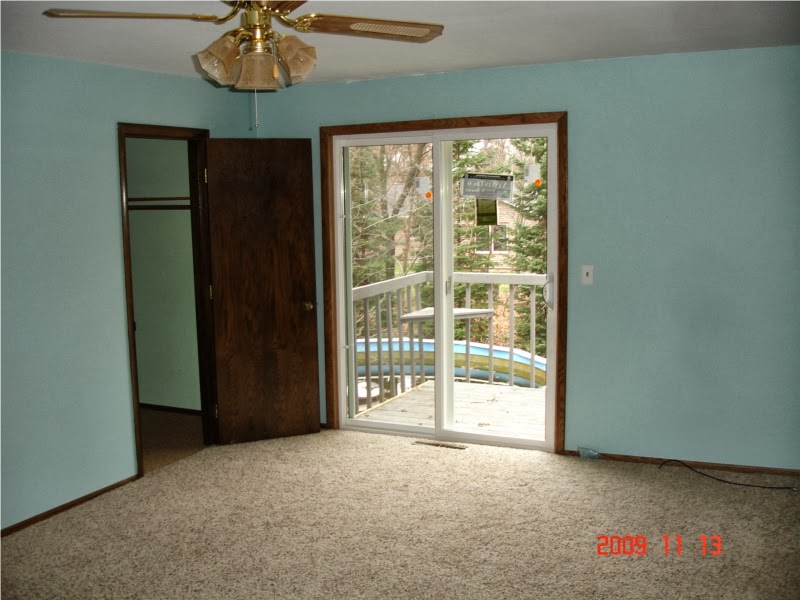
Here's how it looked the day I moved in.
The doors and fixtures were really dated looking. The cable (coax) wire was coming right out of the floor. The colors were not to my liking. The place was a bit like a cave with only the patio doors for outside light and air.
As mentioned in a previous post, I had the contractor that redid the exterior siding install the new window. It was the dead of Winter, and I didn't want to be cutting holes in my walls!
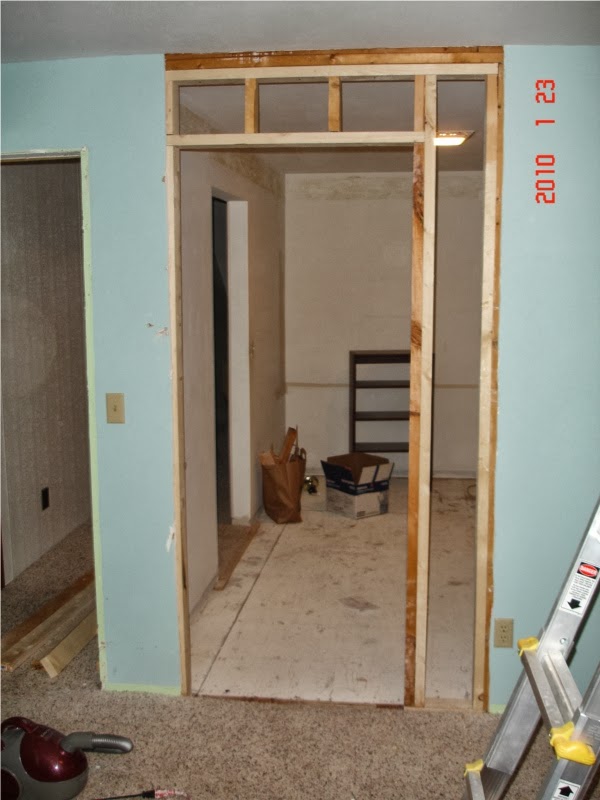
The next thing I needed to do was add the doorway for the future master bath. I knew the random hallway utility room would eventually be converted to it, so it was time to set the stage.
I also had to move a vent return in the room next door due to this change. It was moved over a few bays. That required some serious hacking to the floor, and the covering over of the old vent holes.
Step one was to remove the wiring that was running through the wall. Then I cut out the drywall on both sides, ripped out the framing, reframed it, and re-sheetrocked it.
Step two was to clean up the drywall. It was in bad shape; uneven, peeling drywall tape, holes, and the like. I scraped all the paint that was loose, and patched and sanded all the joins and repairs.
Somewhere in there I also put plastic on the floor, window, and doors to prep for the paint and texture steps.
After I sprayed the drywall texture on I primed it. This was done back when I was trying to spray prime and paint the walls. That was a miserable failure of an experience. Save yourself the time and trouble and just buy a good roller set with an extension bar. It's cleaner, easier, and doesn't have the stress of dealing with the sprayers (which never really work well with latex paints). The ceiling got two coats of primer, and the walls got one.
Next up was paint.
I added a new ceiling fan, one that was a bit more modern looking!
After that, it was time for basetrim and casement. I bought the kind that comes primed white, and put one coat of white latex paint on it before cutting and hanging it.
After filling the nail holes and touching up the paint and trim, it was time to finally move in!
In the above pic, the splotches on the wall are spots that had just been touched up. I also put up some blinds.
You'll note the power and coax plugs high on the wall there. That's for hanging a flat panel TV.
On this pic you'll note the wall plug above and between the two doors. That's for powering some rope lighting should I ever decide to put some crown molding around the ceiling of the room. There is a switch by the door that powers that wall plug.
That's it for now. The difference is immense! This remodel got me really motivated to cruise on the hallway and master bathroom.


No comments:
Post a Comment